Many people are planning to buy gifts for their family members or friends.
iPod has become the first choice of Chistmas gift with the release of iPod Touch and iPod Nano 3 this year.
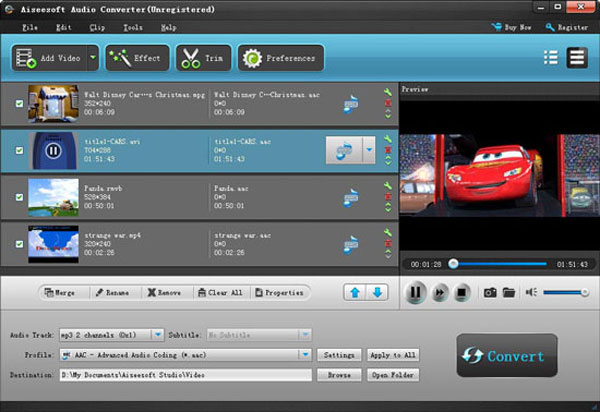
With iPod we can enjoy our DVD movies on it. But iPod only accepts MP4 and H.264 video formats. So we should use third-party software to handle the conversion.
I have used Cucusoft DVD to iPod Converter and Aiseesoft DVD to iPod Converter.
I will show you the instructions of the converters above respectively.
Part 1: How to convert DVD to iPod with Cucusoft DVD to iPod Converter.
Step 0: Download and intall Cucusoft DVD to iPod Converter.
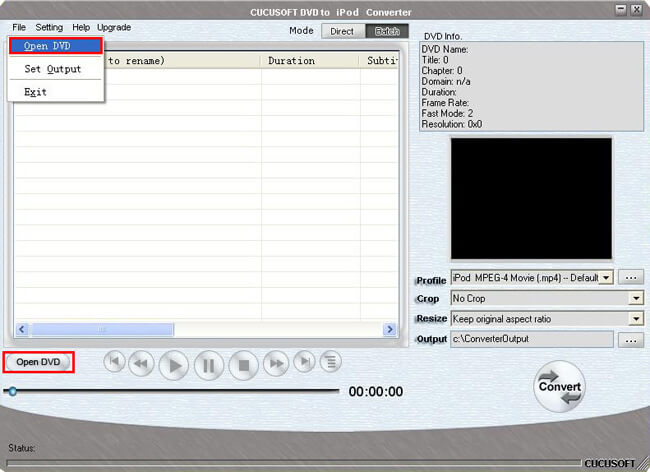
Step 1: Place the DVD into your DVD drive.
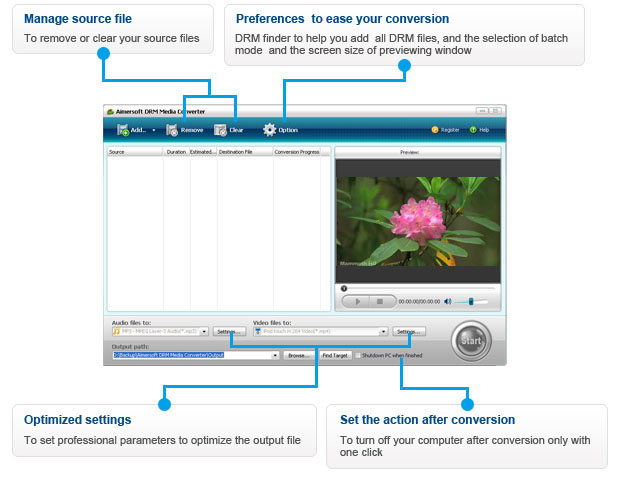
Step 2: Click the “open DVD” button to load DVD.
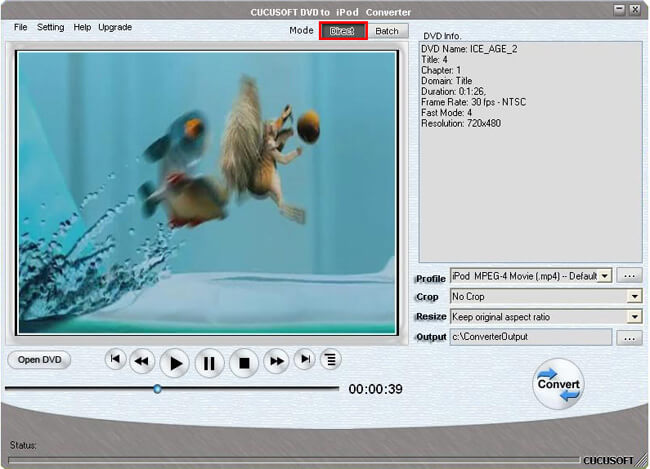
Step 3: Select "Direct mode" or "Batch Mode"
"Direct Mode" means that you can directly click the DVD Menu to select the DVD movie you want to rip. This mode is very easy for ripping a movie DVD's.
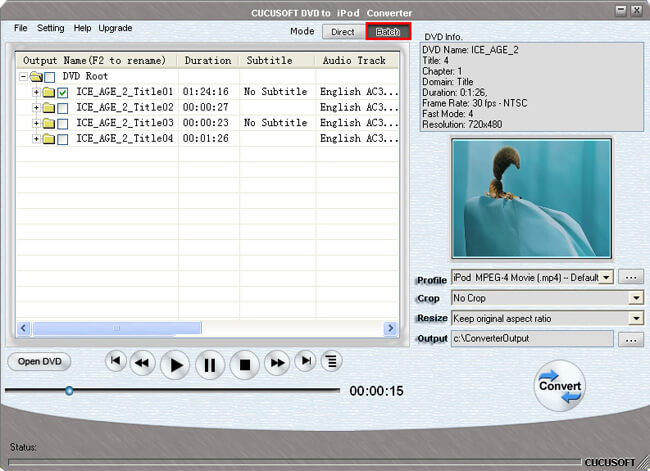
"Batch Mode" means that you can select the DVD titles/chapters and audio track they want to rip via checkbox list. This mode is very easy for batch ripping Music DVD's, MTV DVD's and Episodic DVD's.
Notes:
In "Batch Mode", you not only can select the DVD titles/chapters and audio track, but also can adjust conversion time. So It is easy for you to convert any segment of DVD.
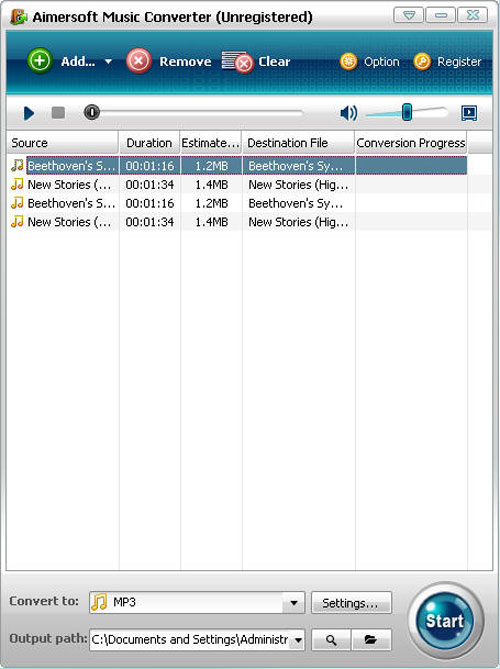
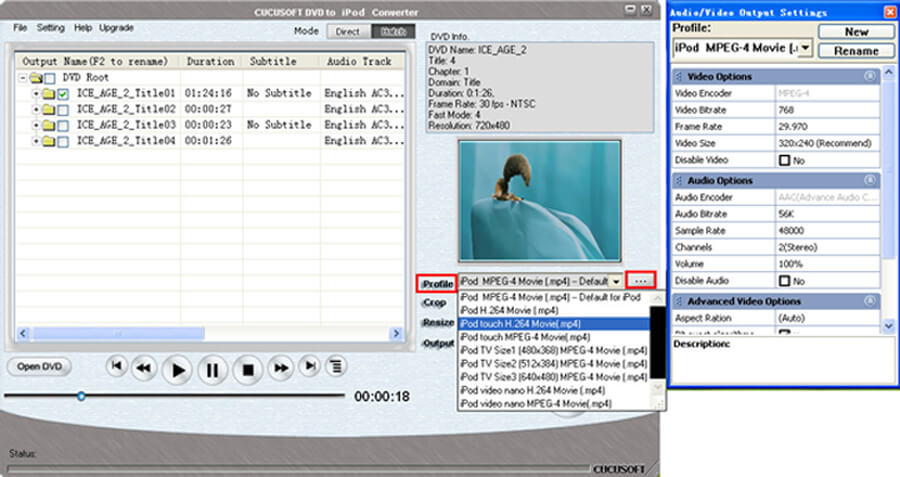
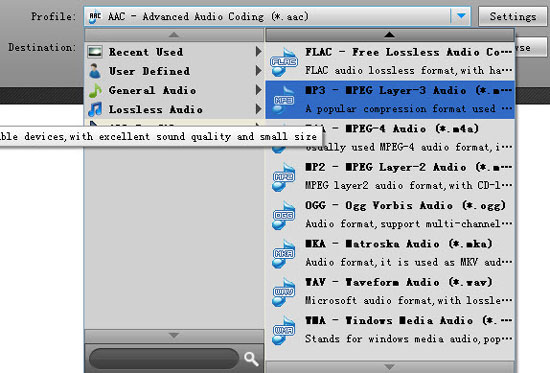
Step 4: Select output format from the "Profile" drop-down list.
Notes:
Click the "…" button at the right of the “profile” drop-down list to set the important parameters: Video Bitrate, Audio Bitrate, Frame Rate and Video Size. For a high image/sound quality you can increase the value of Video/Audio Bitirate and for a compressed file you can decrease the value.
Step 5:Click the “Convert ”button to start the conversion. You can have a cup of coffee or have a walk. In a quite short time it will finish.
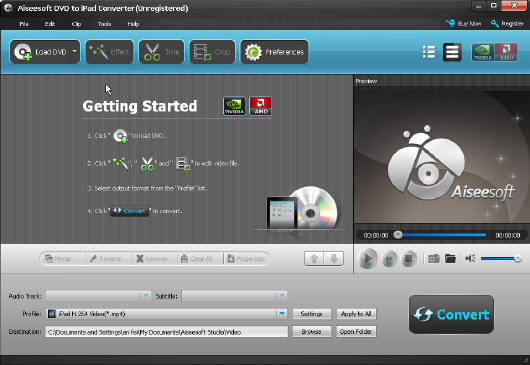
Part 2: How to convert DVD to iPod with Aiseesoft DVD to iPod Converter.
Step 1: Download and install Aiseesoft DVD to iPod Converter, run it.
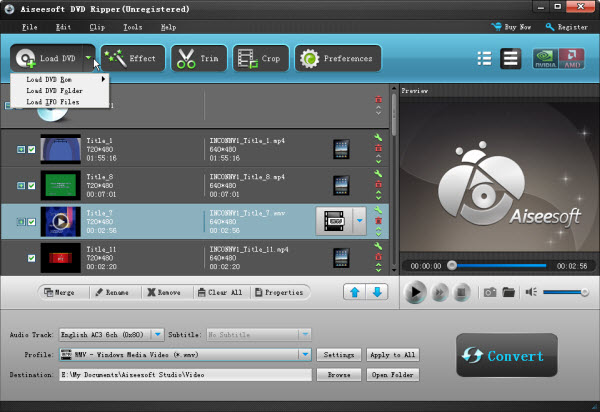
Step 2: Click “Load DVD” button to load your DVD.
This professional DVD Ripper can load three DVD source, you can load your DVD from DVD drive, DVD folder in your PC and also IFO file.
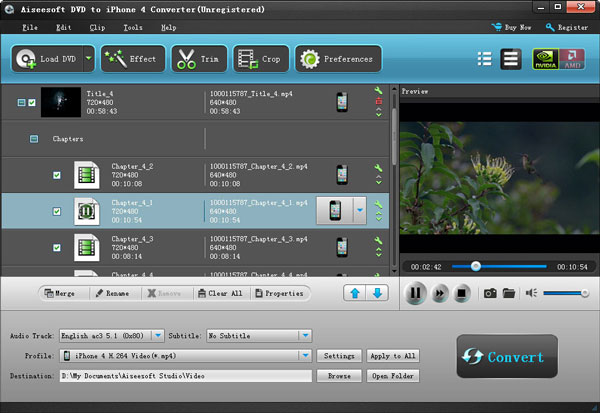
Step 3:Select the output video format you want from the “Profile” drop-down list.
You can also click the “Settings” button to set the value of Frame Rate, Resolution, Bitrate and so on.
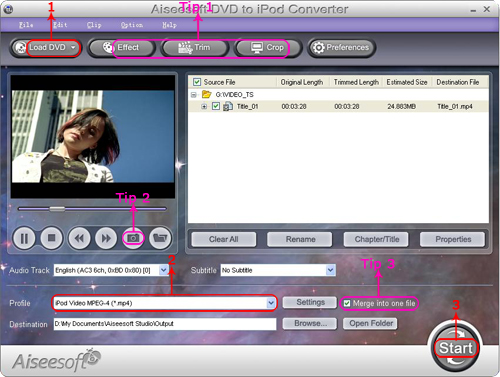
Step 4:Click “Start” button to start your conversion and in a short while it will be finished.
Tips
1: Capture your favorite picture.
If you like the current image of the video you can use the “Snapshot” opinion. Just click the “Snapshot” button the image will be saved and you can click the “File” next to “Snapshot” button to open your picture.
2: Merge videos into one file.
Just check the “merge into one file” option if you want to merge the selected contents into one file As default the merged file is named after the first selected file (either a title or a chapter)
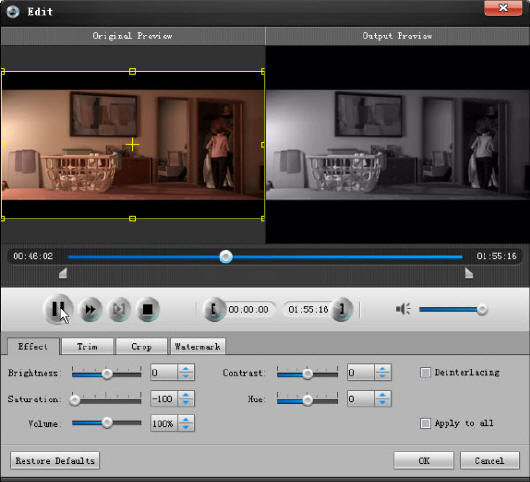
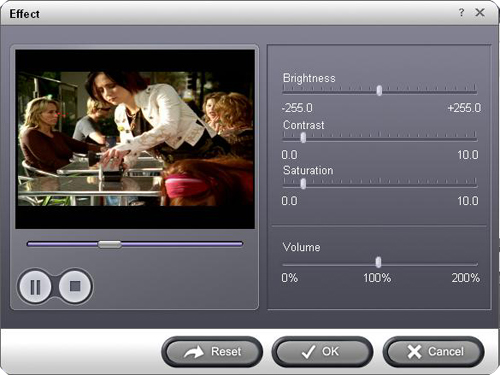
3: Video Effecting
Click the “Effect” button and a dialog pops up, you can set your video effect here.
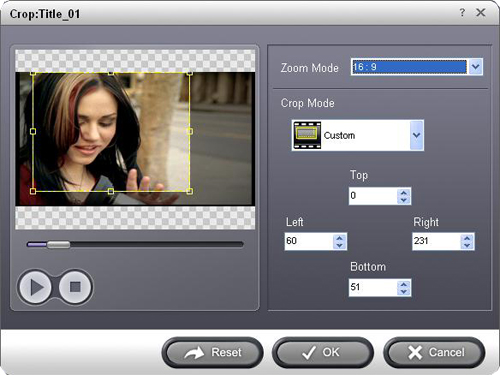
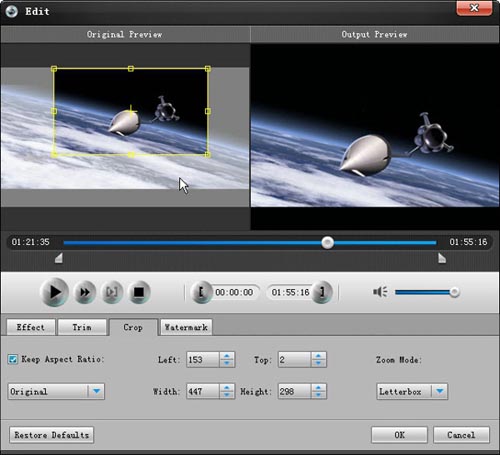
4: Crop video
There are two methods available to crop your video: You can select a crop mode or set the crop values.
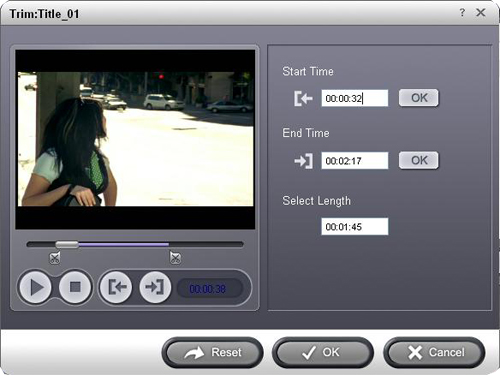
5: Trim video
Click the “Trim” button and a dialog pops up. You can set the time of the clip here.
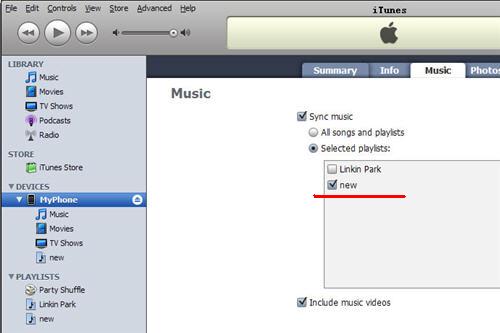
Part 3: How to put your videos on iPod with iTunes
If you want to add video to iPod Touch/Classic/Nano with iTunes,
follow these steps:
1.Open iTunes and click "File" to add your videos to iTunes library.
2.Plug in your iPod to computer, then iTunes will detect your iPod as a device.
3.Select your iPod device on the left panel of iTunes, click "Movies" tab, check the videos you want to sync and click "Apply", done.
Now enjoy your high-resolutin DVD video on your iPod Touch/Classic/Nano.
Have fun!


 button to start converting the files checked in the file list.
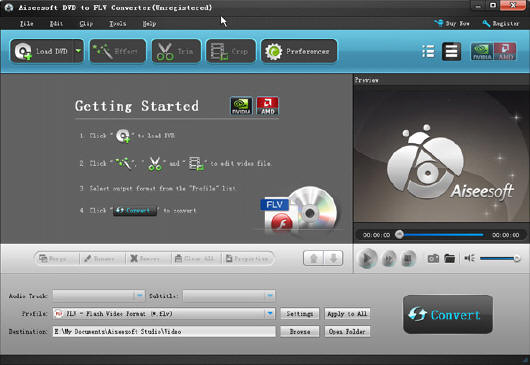


 to input DVD files to convert.


 button to load videos.