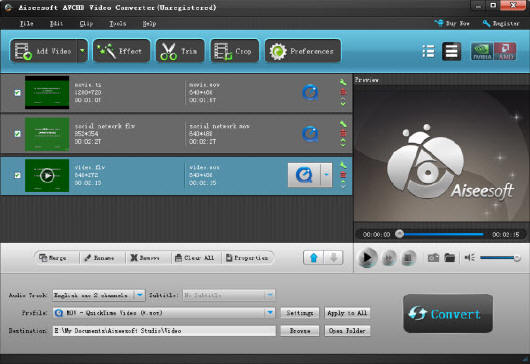
AVCHD Video Converter is the best choice to solve the problem. It is an advanced tool to convert AVCHD to almost all popular video formats like AVI, MPEG, MP4, 3GP and other formats. Furthermore, it allows users to extract audio from video to AAC, AC3, AIFF, AMR, AU, FLAC, MP3, M4A, MP2, OGG, WAV, and WMA, etc. You can even set up the audio tract and subtitle.
It can support many devices including iPod, iPhone, Apple TV, PSP, PS3, Zune, Creative Zen, BlackBerry, Mobile Phone, etc. So you can transfer your converted file to other players to enjoy anywhere and anytime.
Apart from that, this product has a wonderful edit function. You can have a view from below lists.
Function 1: Trim. Users can save only a section of the video set up the start time and end time to cut any clip.
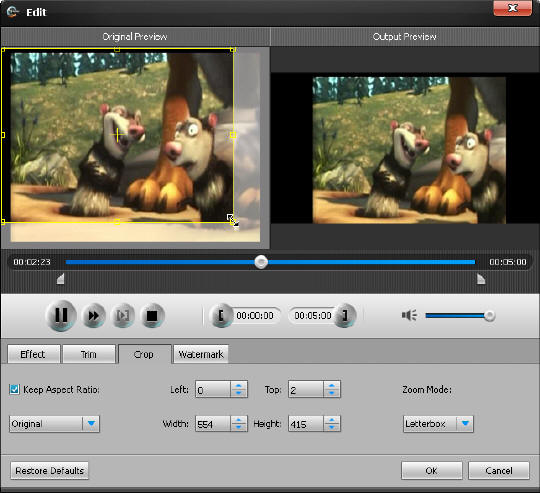
Function 2: Crop. You can drag the mouse to adjust the screen size.
Function 3: Effect. With this function, you can modify video details like brightness, contrast, saturation, hue, and volume. It makes your video perfect.
Function 4: Merge. If you want to mix two or more file into one, just select your files, and click “Merge” button.
Function 5: Watermark. You can add watermark to the being converted files. Write a text or input a picture, making your videos more perfect.
Besides, this AVCHD Video Converter also provides permission for users to convert video to picture. You can click “Snapshot” button to fetch any image.
How do we use it to convert files to what we want? It only needs some steps. And for Mac users, you can refer to HD Converter for Mac.
Step 1: Load video. Click “Add File” option after having downloaded and ran the AVCHD Video Converter.
Step 2: Set up the output format for the files from the drop-down list after the “Profile” icon. You can click “Settings” to adjust video and audio details like resolution, bitrate, fram rate or sample rate as well as audio channels. Choose a folder as your destination.
Step 3: Crop the video. Drag the mouse to change the screen size or directly adjust the parameter values such as width and height.
Step 4: Click “Start” button to begin conversion. You can get it just a few minutes later.
At last, users can view HD Converter Reviews to get more information about the product.
No comments:
Post a Comment